|
|
|||||||||||||||||||
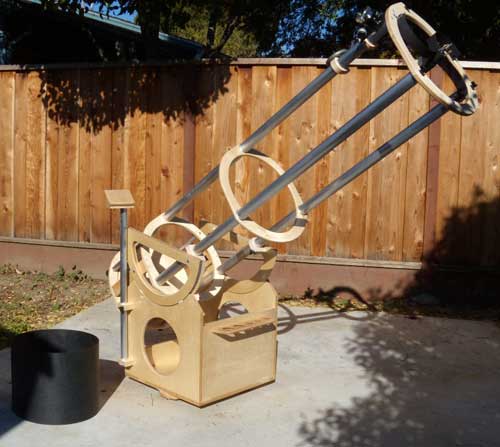
13" F6 Easy
Travel Telescope (ETT) for Barry W in Bakersfield, CA.:
The primary mirror is a full-thickness Swayze 13" F6 and matching secondary. The rest of the scope includes a University Optics mirror cell, an Antares 2-speed 2" crayford low-profile focuser. Also included is a DSC stalk for his Sky Commander, an eyepiece tray with two 2" and three 1.25" slots and a Destiny curved vane spider. A removable dew shield, for the primary and a focuser baffle is also included. It takes about 4 minutes to completely assemble the telescope. Completed
in November 2009.
|
|||||||||||||||||||
|
|
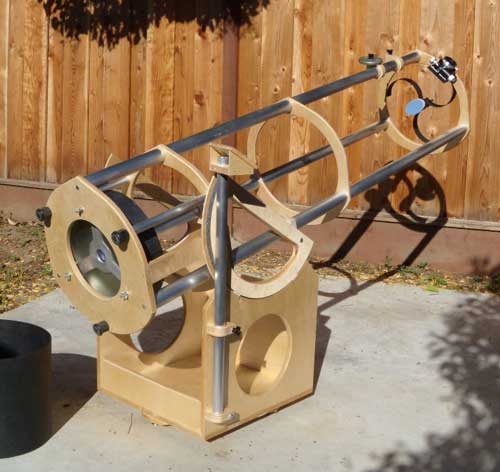
The ETT scope is set up and
ready to use.
|
||||||||||||||||||
 |
The top ring. The Destiny curved-vane spider and Antares low-profile focuser are clearly visible. Note the "hand knobs" for removing the ring from the telescope for a no-tool disassembly. | ||||||||||||||||||
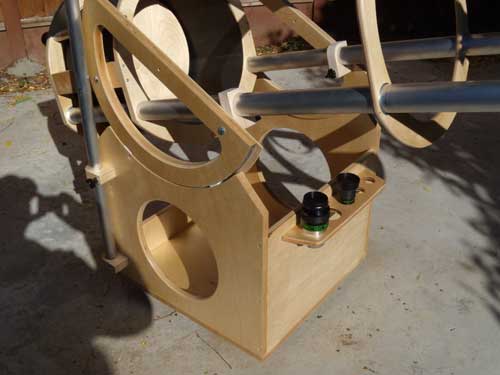 |
Eyepiece tray for two 2" and three 1.25" eyepieces. | ||||||||||||||||||
 |
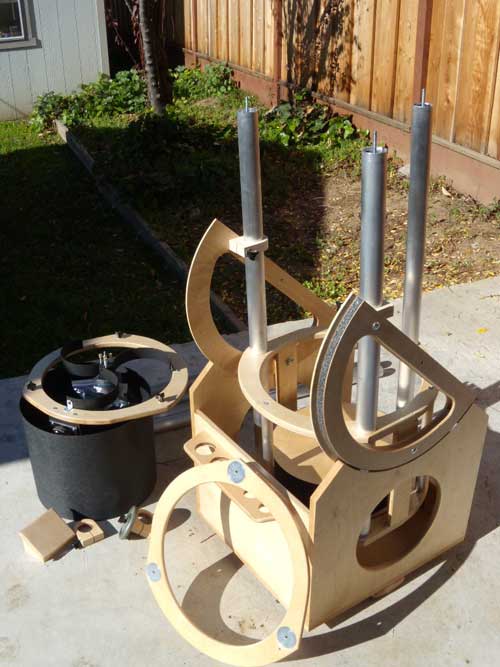
View of the scope ready for assembly. | ||||||||||||||||||
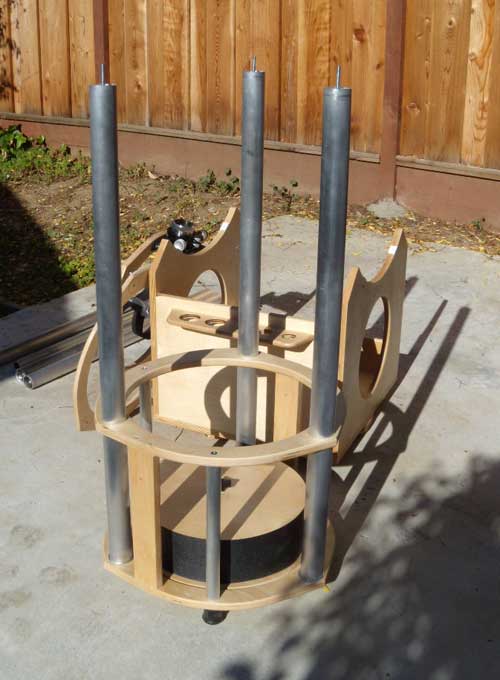 |
The lower-half of the struts are inserted. | ||||||||||||||||||
|
The next step is to place the altitude bearings onto the telescope. |
||||||||||||||||||
 |
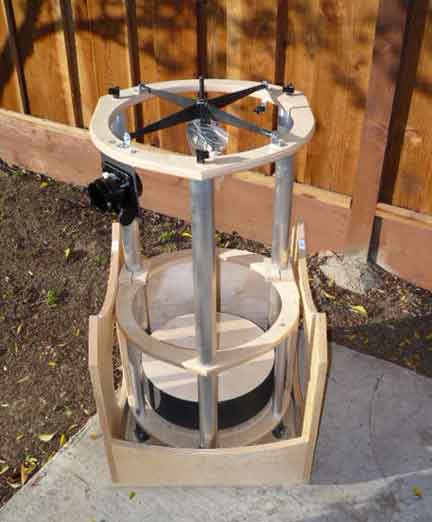
Here's a picture of the
intermediate ring in place. The "washers" on the top of the ring
keep the upper struts from cutting into the wood during
assembly. |
||||||||||||||||||
 |
The top of the are affixed to the assembly. Note that the clamp
for the small 1.25# counterweight and finder are in place. |
||||||||||||||||||
 |
Finally, the top ring and DSC stalk are place onto the telescope. The telescope assembles (and disassembles) without the need for tools. | ||||||||||||||||||
 |
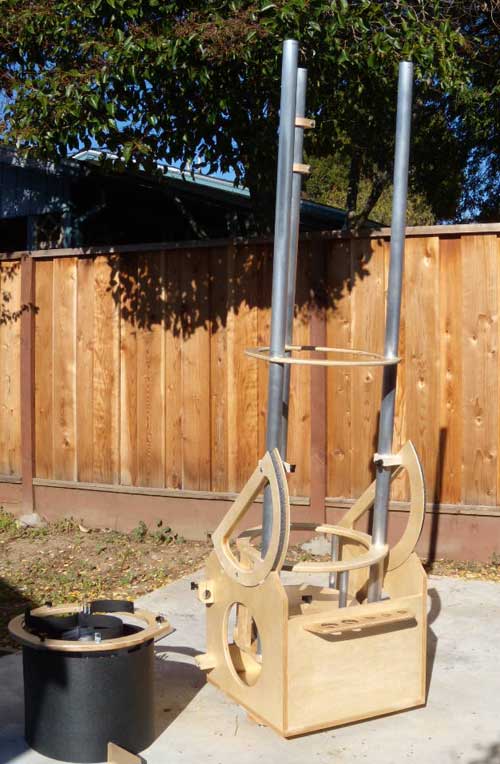
Here's a picture of an ETT setup for "easy
transport". The upper ring is placed onto the struts while the
altitude bearings are kept in place. (Example photo). |
||||||||||||||||||
 |
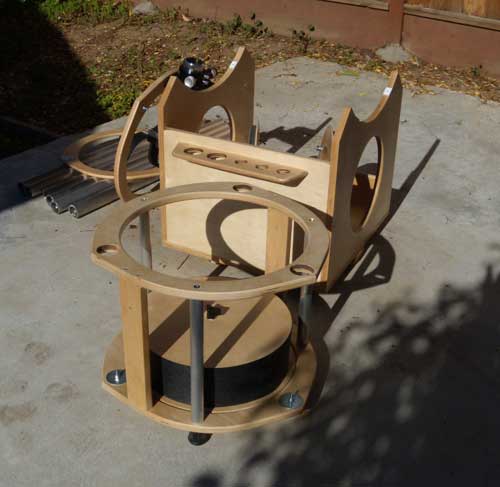
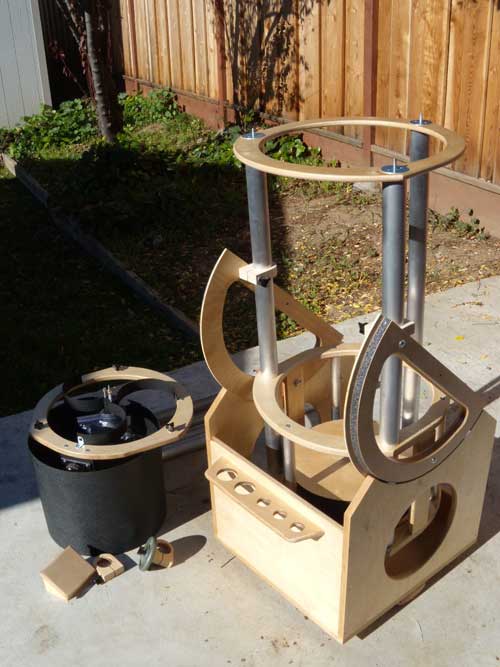
Remove the altitude bearings and nest the
assembly into the rocker box. The intermediate ring is on the
bottom. This is a great way to transport and/or store the
telescope. Optional 20" short storage struts are also available. (Example photo). |
||||||||||||||||||
For more information about
your requirements: |
|||||||||||||||||||
|
Copyright © 2007-2009 -- DobSTUFF.COM. All rights reserved |
|||||||||||||||||||