
HOME | TELESCOPES | KITS & PARTS | PRICING | CONTACT US | SCOPES AND TESTIMONIALS | FOR SALE | LINKS
If you have any questions, or see anything I haven't covered, please let me know and I'll add that information. Simply email me at densteele@dobstuff.com and I'll follow up and quickly as I can.
Call or email any time
tel: 650-315-6578
Thanks, Dennis

Collimation is easy, that is you just adjust the thumb screws without the need to "loosen two, tighten one"!! Easy.
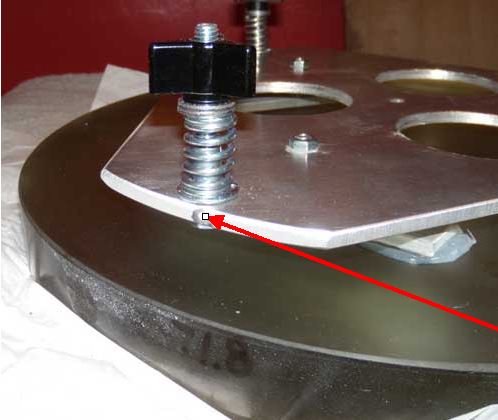
If I've installed your own mirror cell, it will still have a register. Usually on the "side" of the cell near one of the collimation bolts.
NOTE: Once the mirror and cell are installed onto the mirror board, tighten the thumb knobs until the springs are "FULLY COMPRESSED". Then, as you collimate the telescope, simply "release" some of the tension.
I like to use a 2" laser collimator and/or a collimating eyepiece.
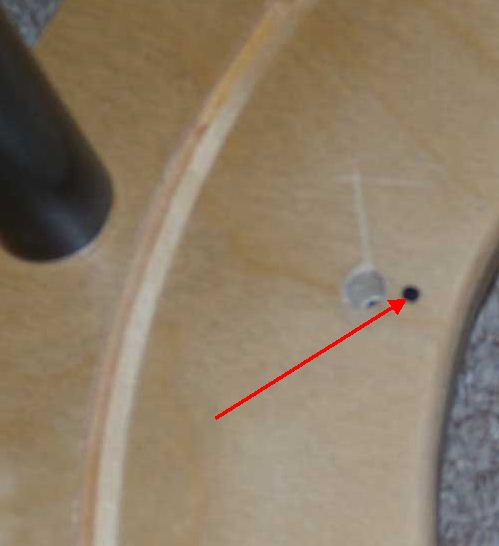
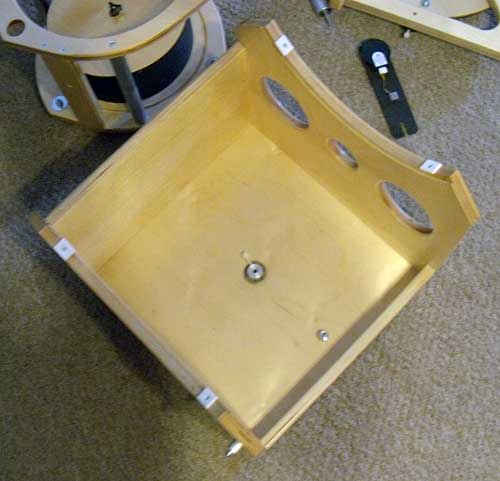
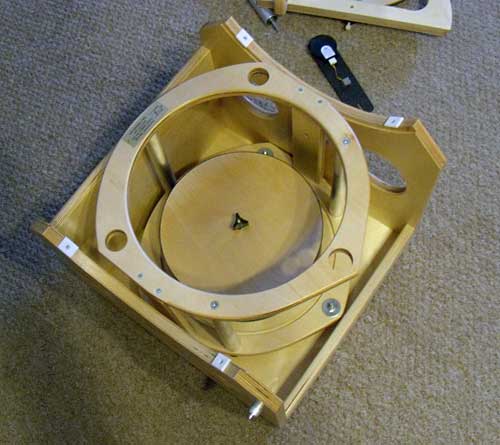
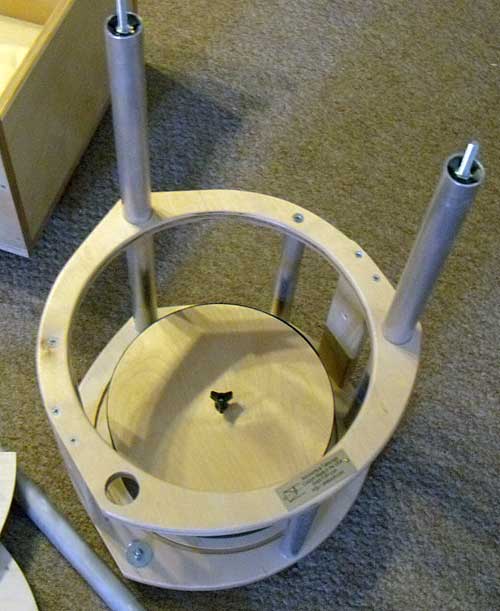
There is a "captive" screw on the bottom end. Just turn the strut until it is tight (but not too tight).
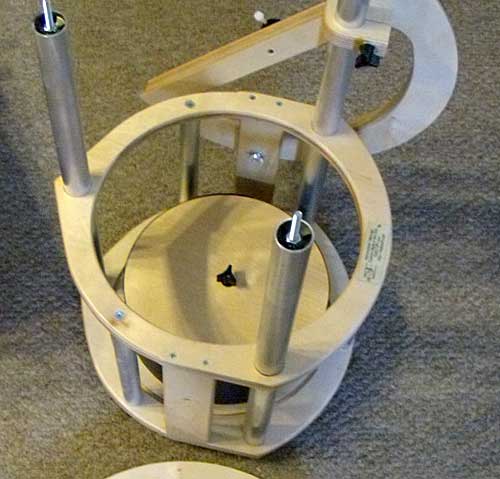
Note that the "rounded corner" (of the altitude bearing clamp) faces IN toward the center of the primary mirror.
Note, too, that the lower bearing attachment uses a "wing nut". The upper one, on the clamp, uses a threaded knob.
For orientation, LEFT is determined from the REAR of the scope. In this example, the LEFT altitude bearings has been installed.

Notice that I have placed the mirror box, with altitude bearings, onto the rocker box.
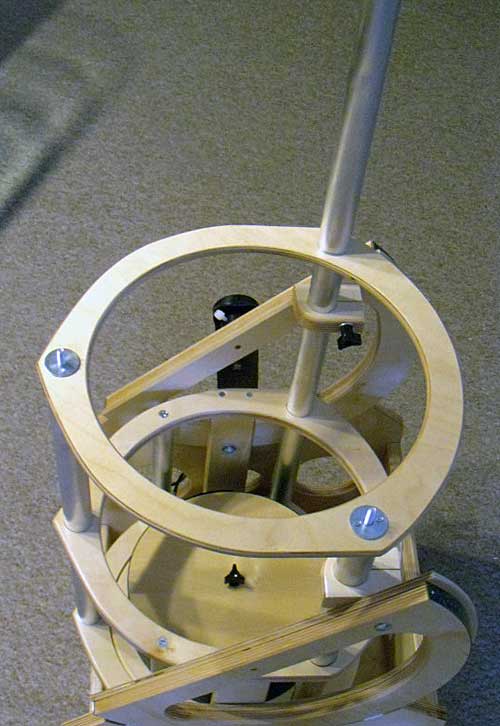
Notice the "washer" is facing UP. This acts to "seat" the strut and protect the wood.
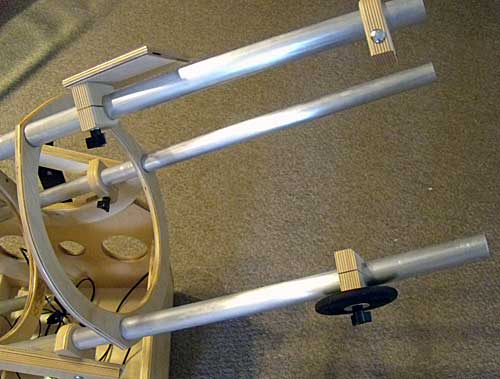
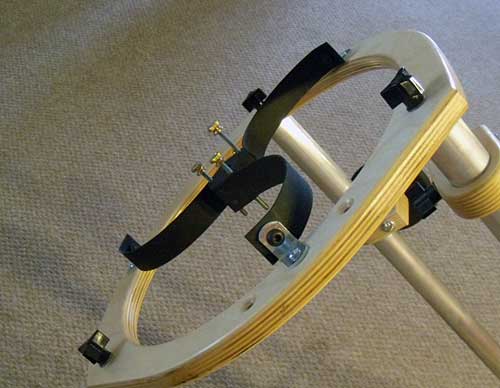
12) I may have shipped the spider "collimation screws" separately. You can install the 3 thumb-knob screws now.
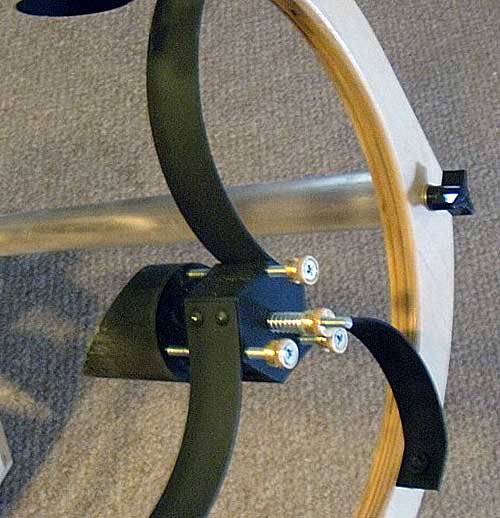
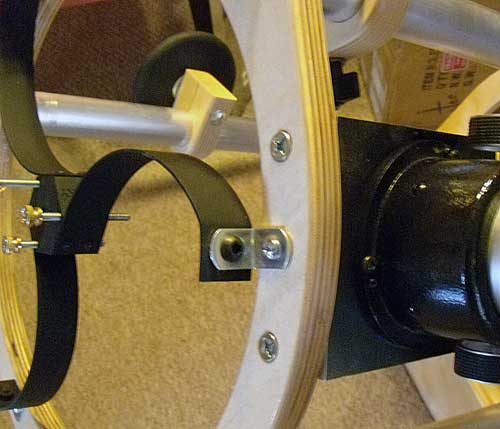
15) Use a laser collimator or Cheshire eyepiece to center the secondary under the focuser.
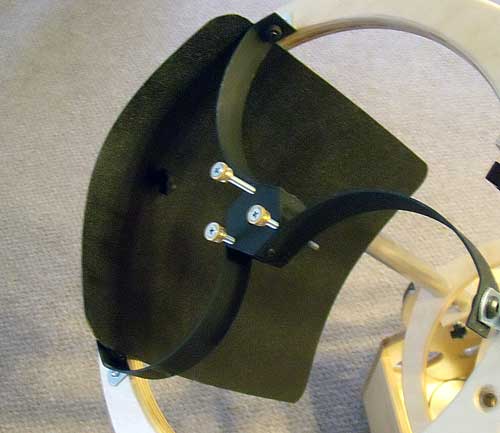
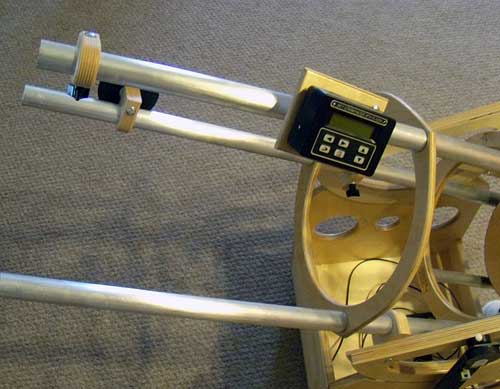
-- Install the encoders. The short tangent arm goes on the AZ axis.
-- Install the cable.
-- Note: The longer lead goes into the AZIMUTH encoder.
The DSC may sit on:
-- A stage (the example in this photo).
-- A stalk, or
-- On Velcro on the rocker box.

For more information or help, call any time:
--Dennis Steele
--Tel: 650-315-6578 (anytime)
--Email: densteele@dobstuff.com
Copyright © 2007-2014 -- DobSTUFF.COM. All rights reserved