|
|
|
|
Assembling a Dobstuff ROCKER BOX KIT can be simple. You'll need
a few tools, including a power drill with screwdriver-tip and
some bar clamps. |
|
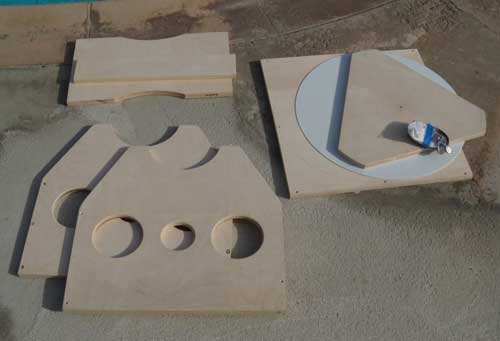 |
1) Regardless whether you purchased a Lightbridge rocker box
upgrade or a rocker box another telescope -- the assembly is
essentially the same. they say that a "picture is better than
1000 words". I hope these help. If not, CONTACT ME!! |
 |
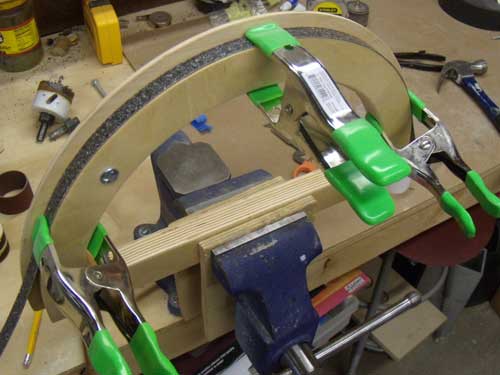
2) Use "bar clamps" to assemble the front and rear spacers along
with the sides. Note the sides are "pre-drilled" and the holes
are counter-sunk for the assembly screws. At this point -- DON'T
use any glue. Later, after the assembly is complete and you've installed your telescope in the rocker -- and all looks and feel right, I like to "back out each screw" and dip them into glue. Re-insert the screw and the glue will follow. Enough glue will add whatever rigidity you're looking for. |
 |
3) Inserting the 1 5/8" fine-thread wood screw is simple with a power-drill and phillips-head bit. If you have one, use PD2 or TD2 screw-bit. |
 |
4) Fit the bottom, use clamps as needed. Eight screws finish the job easily. |
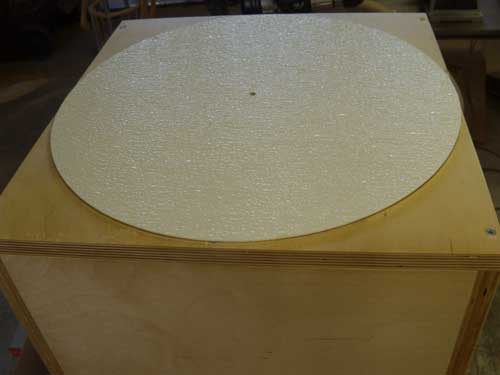 |
5) I use the "3M 77-10 Super 77 Spray Adhesive" to affix the bottom laminate to the rocker box. |
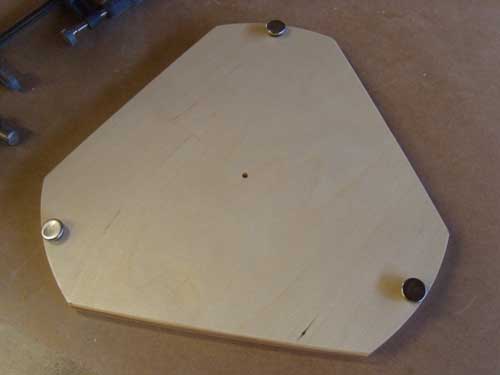 |
6) Install the "feet". |
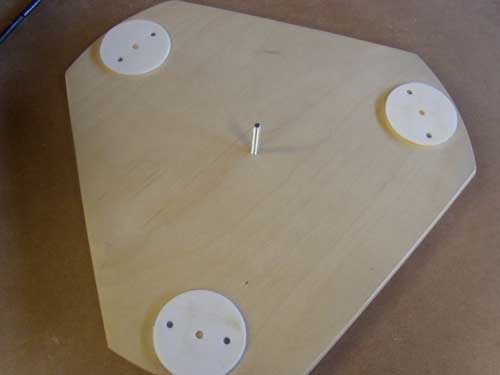 |
7) Affix the Teflon bearings to the ground board. The form has changed a bit over the years -- but the process is about the same. |
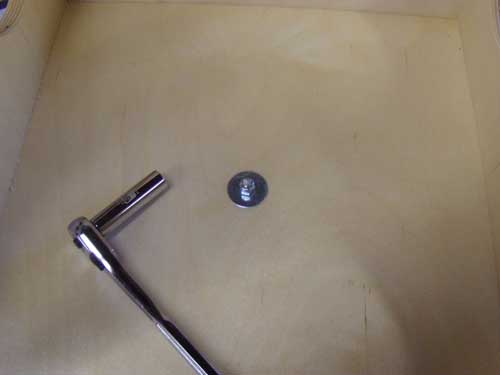 |
8) The center pivot comes with a washer and lock nut. Leave abut 1/8" spacing between the rocker box side and ground board. Loose is better and will improve the motion of the rocker box azimuth motion. |
 |
9) SOME, but not all, of my rocker boxes come with altitude
bearings of some sort. If that's the case, use "contact cement"
to affix the altitude-bearing laminate. I now use black FRP
laminate as a substitute for Ebonystar. It'll work just great. CLAMPS?? If contact cement is used, and used correctly, the laminate will adhere to the altitude bearing immediately. No clamps will be needed. Just apply the contact cement to both surfaces and burnish the two together. Directions are on the side of the contact cement container. Use the small nail (brad) as described in step 10. |
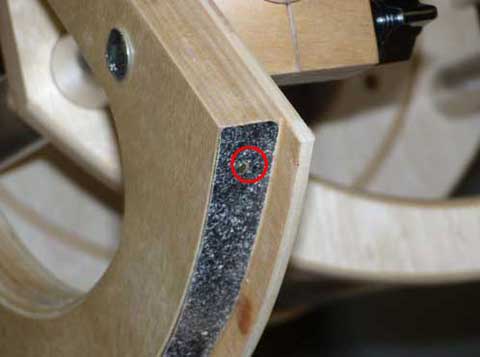 |
10) A small brass-brad inserted into the ends of the altitude-bearing laminate keep it in place. Drill a small pilot hole first. It doesn't need to be very deep into the wood, just through the laminate material itself. |
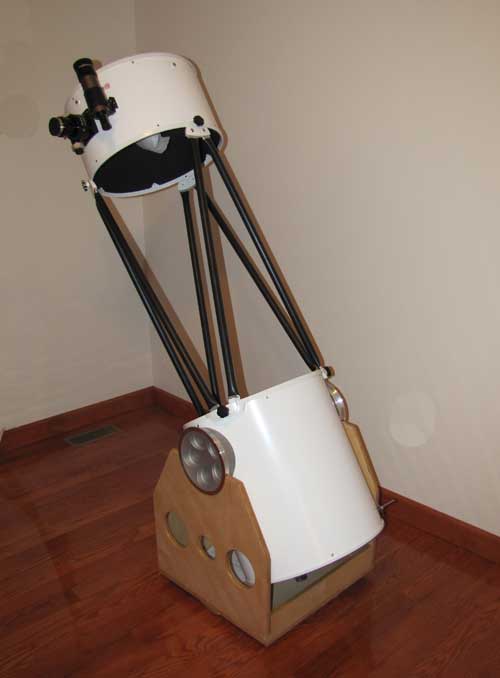 |
11) These instructions will help assemble the Lightbridge rocker
box. For a full explanation and set of instructions click HERE to see the Lightbridge rocker box assembly page. |
 |
12) If your rocker box comes with BREAK. Use this technique to install. Installing the “break” for the rocker box is easy (we now install a "break" on all our Lightbridge rocker boxes):
|
For more information about
your requirements: |
|
|
Copyright © 2007-2020 -- DobSTUFF.COM. All rights reserved |
|
