|
|
|
Mount Your Mirror
Cell to the Mirror with Silicone: Mirror cells easily affixed to your mirror with silicone. While there has been considerable discussion about using silicone, experience has shown this is an excellent way to mount your mirror cell. The following picture and descriptions show a 6-point cell being affixed to a 13.1" mirror. The procedure is the same for any size mirror and any number of flotation points. I've mounted mirrors from 6" to 23" in diameter with excellent results. |
|
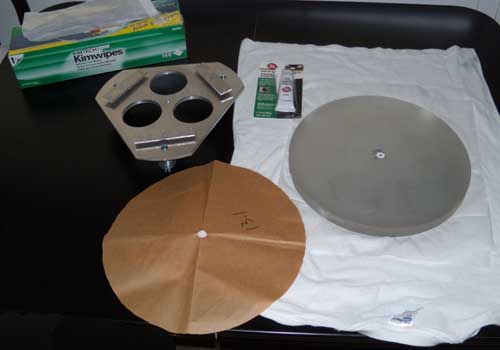 |
Assembling all the
components, included here: 1) I use a clean "T" shirt to put the mirror face down. 2) Clean the back of the mirror with reagent grade acetone or alcohol. 3) 100% clear silicone (this sample is RTV, but any will work fine). 4) Mirror cell (optimized with Plop). 5) Mask to "center mark" the back of the mirror. NOTE: The "Kimwipes", to the upper left of the picture, are great for protecting the coating of the mirror. You can find these on the web or at www.kcprofessional.com/us and look for product code # 34256. |
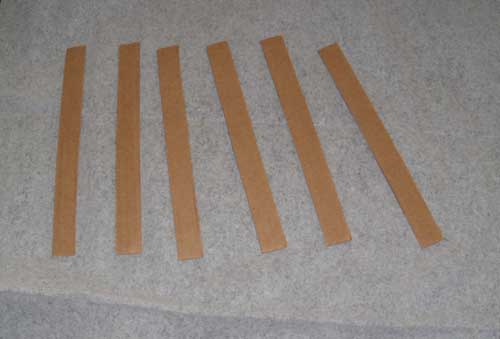 |
I
use a regular "shoe box" and cut 6 strips of cardboard, 1"x6" or
so. These are used for spacers and will be removed once the
silicone is cured. Generally, if using my cells, I've provided BUMPERONS, so the cardboard spacers ARE NOT needed. |
 |
Place the mask onto the back of the mirror. You can get the white "donut" at any stationary store and many drug stores. This example, the blue/white box to the left side, is "Maco White Reinforcements". |
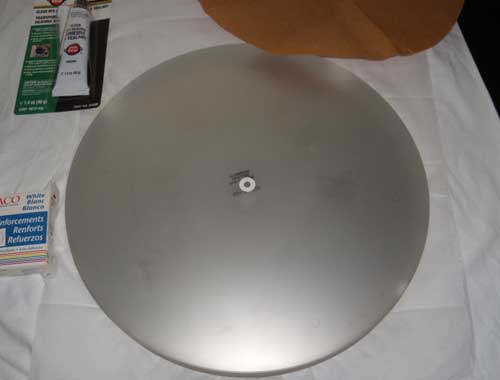 |
Affix the "donut" to the center of the mirror back. NOTE: If you wish, just use a "magic marker" and put a black dot in the center of the rear of the mirror. |
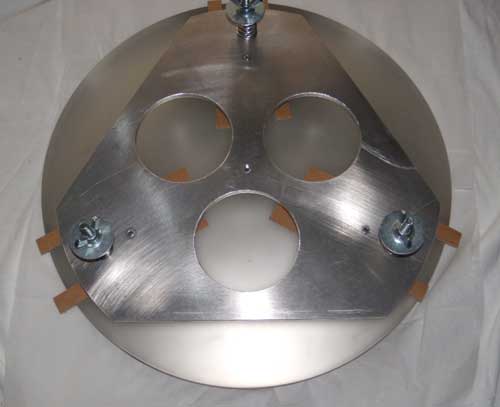 |
The mirror cell is placed onto the back of the mirror -- NO SILICONE YET -- and the cardboard spacers are set into position. Try to be sure they will not touch the silicone so they can later be easily removed. |
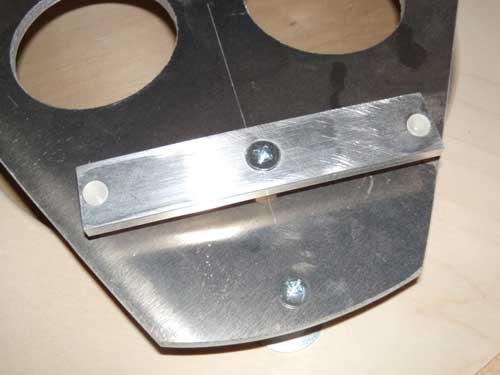 |
Another spacer technique (one that I
use exclusively now) is with a plastic spacer called a "bumperon".
These are available from a variety of sources (TAP Plastics and
others). They stand about 1/16" high and are about 1/4" in
diameter. They have a sticky back. Place these at the appropriate location as defined by your calculations (I tend to use Plop as an easy way to set the spacing). I don't think the current version of Plop is Windows 7 compatible, but give it a try. I use an older Windows XP machine to run the software. |
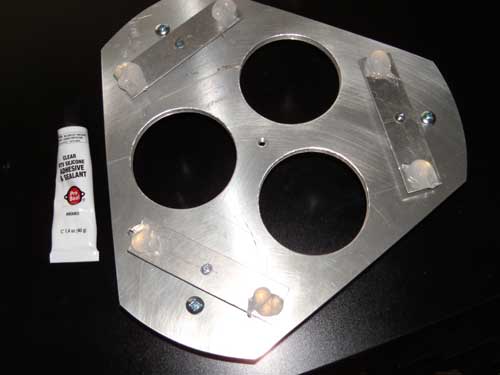 |
The silicone is applied to the
flotation points. In this example, "blobs" of silicone are about
the size of a 25-cent piece approximately 1/2" thick. Using the center hole in the mirror cell, sight down through to center the cell over the donut. Press to "seat" the cell onto the back of the mirror. DO NOT use any weight. Just press the mirror into place to insure contact with all the points and release. Allow the silicone to cure for 24 hours, then remove the spacers. |
 |
I build mirror cells for use in traditional round telescope tubes. Check here for info. |
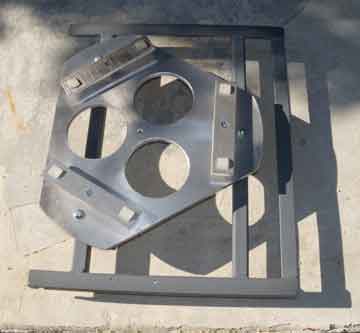 |
Although I don't build the "tailgate", I do make mounting plates for more traditional truss dobs. |
For more information about your requirements: |
|
|
Copyright © 2007-2013 -- DobSTUFF.COM. All rights reserved |
|
