|
|
||
Mirror Cells and
more...:
Mirror cells are available for telescope from 6" to 18" in size. For smaller mirrors, I build "simple cells" from 3/4" 13-ply Baltic Birch. Larger mirror cells are made from 1/4" aluminum plate. For a discussion on mounting your mirror to your mirror cell with silicone, click here. |
||
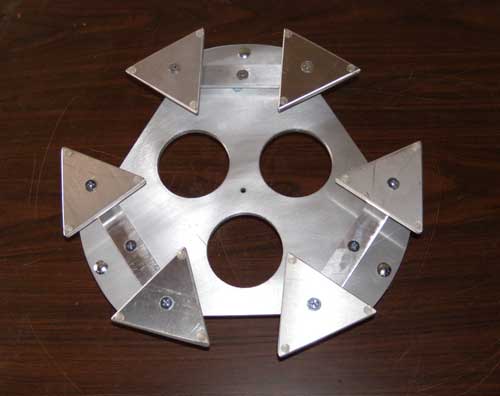 |
An 18-point flotation mirror
cell for a 16" primary. The cell is all 6061 aluminum 1/4" plate
with steel hardware. I do make all Baltic birch "tailgates" for the traditional dobs. I make cells for just about any size mirror. Email me for pricing and leadtime. |
|
 |
A mirror cell for 12" thru 16" traditional round optical tube assembly.. The mirror cell is made with all aluminum backing plate and primary mounting plate. The cell adjusts and mounts inside to any tube size from 13" to 18" This is a 6-point cell, optimized with Plop, and affixes to the mirror with silicone. More information here. | |
 |
||
 |
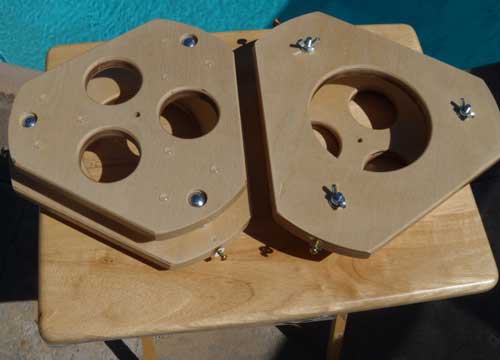
A mirror cell for 8" to 12" traditional dob. The mirror cell is made with all 13-ply Baltic birch primary mounting plate and backing plate. Just tell me the I.D. (inside diameter) of your telescope tube. This is a simple3-point cell, optimized with Plop, and affixes to the mirror with silicone. | |
 |
||
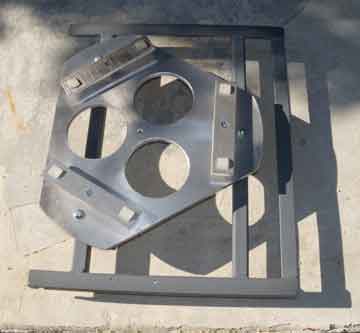 |
A mirror cell for a 14" traditional dob. In this case, the customer had the rear "tailgate" and asked that I build the top portion of the cell. This is a 6-point floatation cell, optimized with Plop, and will affix to the mirror with silicone. | |
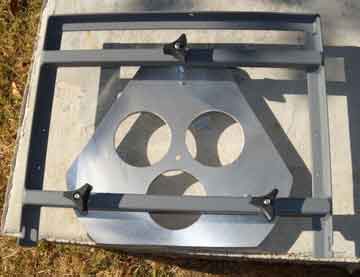 |
Rear view of the traditional dob mirror cell. | |
 |
Here's a good view of the
6-point all aluminum mirror cell for a 14" mirror. My cells are
made, such, that mirrors are affixed with silicone. No clips are used. -- 8" to 10" mirror cell, $ 99.00. --12" to 16" mirror cell, $149.00. --18" mirror, $199. --Silicone, $4.00. Note: I also build cells that fit into round tubes, fully adjustable tube diameters. |
|
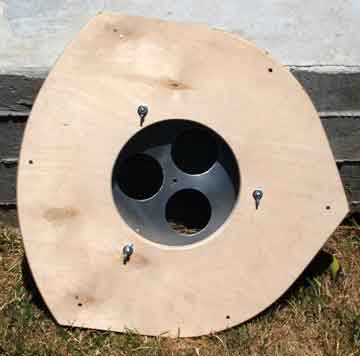 |
The mirror cell is drilled with large vents for ease of cooling to the ambient temperature. Fans can be added (see below). The center hole is threaded in the event a counter-weight needs to be added later. | |
 |
This is an example of a
12Vdc fan installed on a 12" telescope. Power for the fan is
provided through a standard, easy-to-find RCA power plug
(available at Radio Shack catalog #274-319 for $2.99). The fan
is mounted on matching Baltic Birch. In this example, the fan is
held in place by the collimation bolts/wing nuts. --Single 12Vdc fan, $99.00. |
|
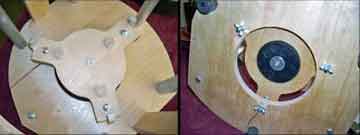 |
An example of the "simple" 3-point Baltic Birch
mirror cell for 6"-10" mirrors. --Price: $49.95 Counterweight included if requested.. |
|
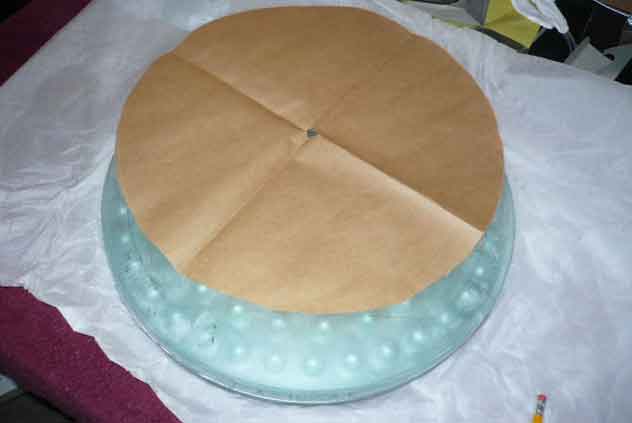 |
Some of my mirror cells are
shipped already affixed to the primary mirror. In this case, I
make the collimation bolts removable. These pictures show the
installation of the cell onto the back of the mirror as well as
the installation of mirror cell onto the mirror board. Once the mirror cell is completed, I mark the center of the rear of the mirror in the same way I mark the front (for a collimation donut). Cut a piece of wrapping paper to the size of the telescope mirror (a large paper bag from a grocery store works well). Fold it in half and then in half again. The center point is cut producing a hole in the exact center. Mark the center of the rear of the mirror |
|
|
|
Put a good size blob of 100% silicone onto the 6-points of the cell (or whatever points you're using to affix the mirror to the cell). I make them about the size of a 25-cent piece and about 1/2" thick. | / |
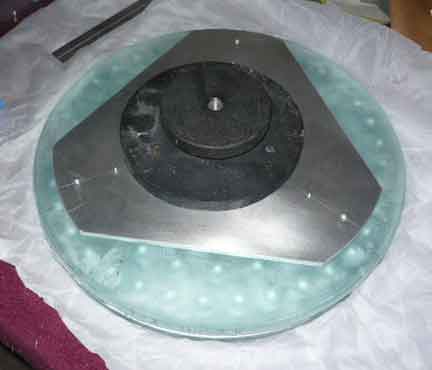 |
Carefully center the cell onto the back of the mirror. Use a bit of weight on the back of the while the silicone cures. Allow 24 hours or more to cure the silicone. | |
|
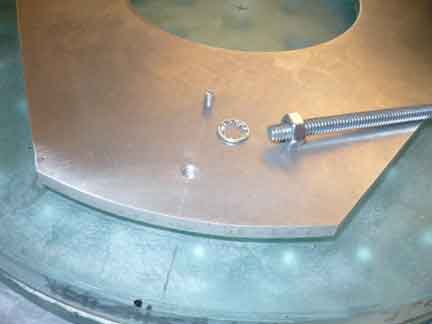
Once the silicone is cured, the mirror and cell are ready to use. You need to affix the 1/4-20 adjustment bolts to the cell. Use a lock or star washer, screw the bolt into the threaded hole and tighten the bolt with a crescent wrench or pliers. |
|
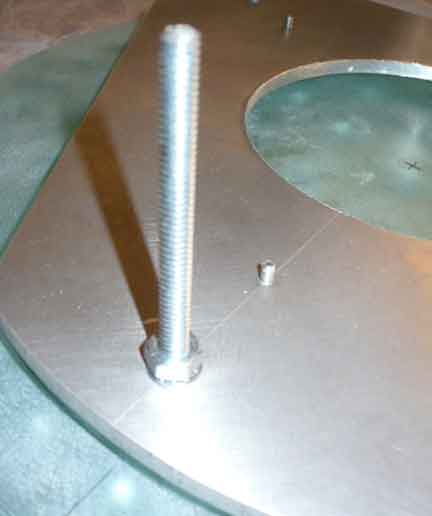 |
Here's the adjustment bolt
installed. There is no need to over tighten the bolt. Just make
it tight enough so that the bolt does not rotate while adjusting
the collimation wing-nut. |
|
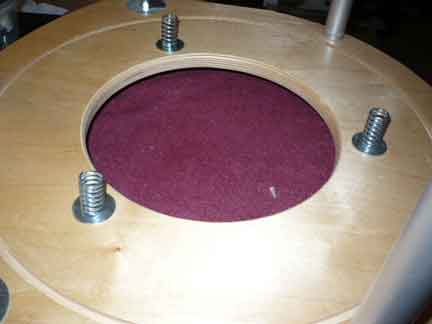 |
Place a fender washer and
spring over each of the mirror board holes. |
|
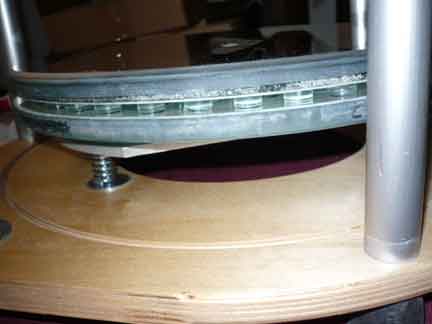 |
Install the mirror cell onto
the mirror board . |
|
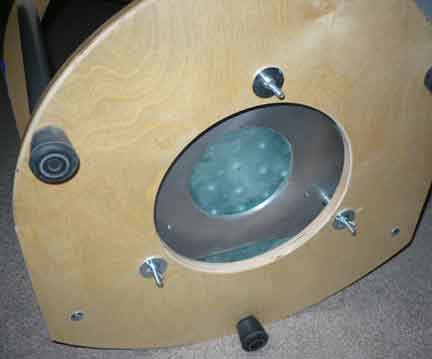 |
Use another fender washer on the rear and install the wing-nut. I like to tighten the wing nut so that the spring is fully compressed. As you collimate the primary mirror, loosen the wing nuts as needed. | |
For more information about
your requirements: |
||
|
Copyright © 2007-2009 -- DobSTUFF.COM. All rights reserved |
||

